
Aeroponic Tower Gardening for Balconies and Terraces: A Beginner's Setup Guide

Updated: Sep 24
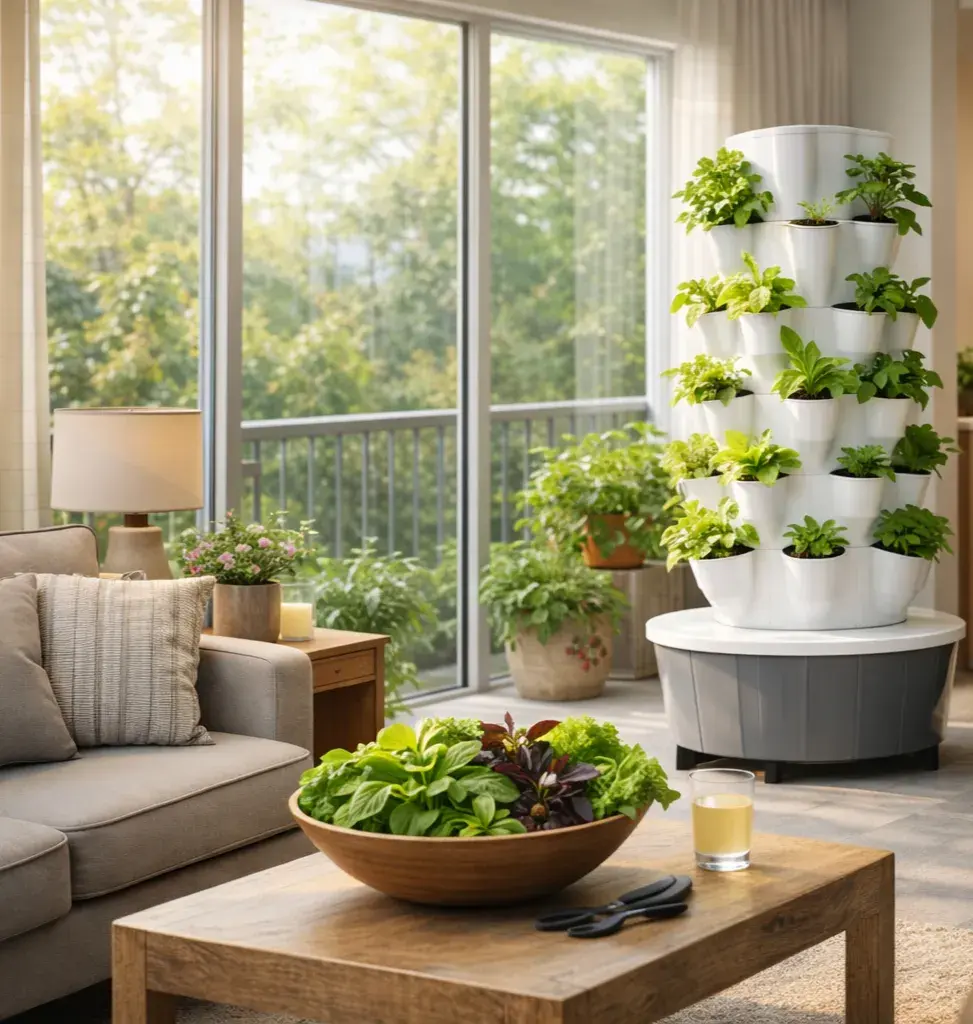
If you have ever looked at your balcony and wondered whether it could hold more than a couple of sad potted plants, an aeroponic tower might be the answer you did not know you were searching for. No soil, no sprawling pots, and a fraction of the water a traditional garden needs. This guide walks you through everything a first time grower needs to get a tower running on an Indian balcony or terrace, from picking the right spot to choosing your first crops.

What Makes a Balcony Ideal for an Aeroponic Tower
Most Indian apartments were not built with gardening in mind, yet balconies and terraces are often the best growing spaces a home has to offer. They get direct sun for several hours, they drain easily if water spills, and they sit close enough to the kitchen that harvesting a handful of basil takes seconds rather than a trip downstairs.
An aeroponic tower suits this space well because it grows vertically instead of spreading outward. A single Nova 20 or Nova 35 unit can hold dozens of plants in the footprint of a small dining chair, which matters when your outdoor space is measured in square feet rather than square metres.
Step by Step: Setting Up Your First Tower
1. Pick a Spot with Enough Light
Aim for a location that receives at least five to six hours of direct or bright indirect sunlight. East facing balconies tend to work beautifully since they catch the gentler morning sun without the harsh afternoon heat that can stress young seedlings. If your balcony is shaded for most of the day, keep this in mind when selecting crops later in this guide.
2. Check the Surface and Drainage
Towers are filled mostly with water, so a full reservoir has real weight. Place your unit on a flat, stable surface such as tile or concrete, and set a shallow tray underneath during the first few days while you learn how the pump cycles behave. This little bit of caution saves you from watching a stray drop stain the floor below.
3. Assemble the Tower and Test the Pump
Follow the assembly steps included with your Nova or Lotus unit, then fill the reservoir with clean water and run the pump alone for a few minutes before adding any nutrients. This dry run lets you confirm that water is reaching the top of the tower evenly and that there are no loose joints leaking along the way.
4. Start Your Seedlings Separately
Rather than sowing seeds directly into the tower, start them in small rockwool or coco cubes on a windowsill or shelf. Once the roots are visible and the first true leaves appear, usually within seven to ten days, they are ready to move into the tower's planting sites.
5. Mix Your First Nutrient Solution
Use a nutrient solution formulated for aeroponic or hydroponic systems and follow the dilution instructions closely, since towers are more sensitive to concentration than soil ever is. New growers often find it easier to mix at half the recommended strength for the first week, then move to full strength once the plants show steady new growth.
6. Set a Watering and Light Schedule
Most tower pumps run on a timer, cycling on for a few minutes every fifteen to thirty minutes throughout the day. If your balcony gets strong afternoon sun, a light shade cloth during the peak hours between noon and three can protect tender leaves without cutting off the light your plants still need.

Choosing the Right Tower Size for Your Space
Phooldaan's tower range is built around exactly this decision, since a balcony in a one-bedroom flat and a terrace on a bungalow call for very different footprints.
Nova 20: a compact starting point for narrow balconies or a first experiment with tower gardening
Nova 35: a comfortable middle ground for families who want a steady supply of herbs and leafy greens
Nova 40: suited to growers ready to dedicate a proper corner of the balcony to a fuller harvest
Nova 120: built for serious growers or shared spaces such as a society terrace or rooftop garden

What to Plant First
New growers get the most satisfaction, and the fastest results, from fast growing, forgiving plants. Lettuce, spinach, and other leafy greens are usually ready to harvest within four to six weeks. Herbs such as basil, mint, and coriander root quickly and reward you with cuttings almost every week once established. Save fruiting plants like tomatoes and strawberries for your second or third grow, once you are comfortable reading how your tower behaves.
Settling Into a Routine
Once your tower is running, the day to day involvement is refreshingly light. Check the reservoir water level every couple of days, top up nutrients on the schedule your solution recommends, and glance at the leaves for any sign of yellowing or spotting. Most balcony growers find that five minutes each morning with their coffee is all it takes to keep a tower thriving.
A balcony aeroponic tower will not replace a full kitchen garden overnight, but it turns unused vertical space into something genuinely productive. Start small, watch how your plants respond to your specific balcony, and let that first successful harvest of basil or lettuce guide how far you take it from there.
Frequently Asked Questions (FAQs)
Q. How much sunlight does an aeroponic tower need?
Ans. An aeroponic tower should ideally receive at least five to six hours of direct or bright indirect sunlight each day. East-facing balconies can work especially well because they receive gentler morning sunlight.
Q. Can I set up an aeroponic tower on an apartment balcony?
Ans. Yes. Aeroponic towers are well suited to balconies because they grow vertically and require relatively little floor space. Models such as the Nova 20 and Nova 35 can accommodate dozens of plants within a compact footprint.
Q. What surface should I place my aeroponic tower on?
Ans. Place the tower on a flat, stable surface such as tile or concrete. Since the reservoir contains a significant amount of water, a sturdy surface is important. A shallow tray underneath can also help protect the balcony floor from spills or leaks.
Q. Should I grow seedlings directly in the aeroponic tower?
Ans. It is better to start seeds separately in small rockwool or coco cubes. Once the roots become visible and the seedlings develop their first true leaves, they can usually be transferred to the tower after about seven to ten days.
Q. What nutrients should I use in an aeroponic tower?
Ans. Use a nutrient solution specifically formulated for aeroponic or hydroponic systems and follow its dilution instructions carefully. For the first week, beginners may find it easier to start with half the recommended strength and increase to full strength once the plants show steady growth.
Q. What plants are best for beginners?
Ans. Leafy greens such as lettuce and spinach are good starting choices because they grow relatively quickly and can often be harvested within four to six weeks. Basil, mint, and coriander are also suitable herbs for beginners. Fruiting plants such as tomatoes and strawberries are better saved for later grows.
Q. How often does an aeroponic tower need to be maintained?
Ans. Daily maintenance is generally light. Check the reservoir every couple of days, top up nutrients according to the nutrient solution's instructions, and inspect the leaves for yellowing or spots.


Comments